
How to change eye color in Photoshop is one of the most common applications of the software. It was the first thing I ever did in Photoshop after I took a photograph of my son and the eyes were a little overexposed. Following a few video tutorials, I found the process very simple and it got me familiar with a few key Photoshop concepts such as Layer masks and Adjustment Layers. I hope that you find this tutorial useful and can use it to improve your images and refine your Photoshop skills
In summary we will select an image, apply a color layer over the top of the whole image and then using a layer mask, only allow the eyes to show the colored layer. I have made a video so that you can see the whole process as well as more detailed explanations below. There are many ways to achieve the same results in Photoshop but this is the method which I found easiest. I got this method from Aaaron Nace over at PHLEARN (Awesome site you should definitely go check out)
How to Change Eye Color in Photoshop – Detailed Steps
Step 1 – Select your reference image
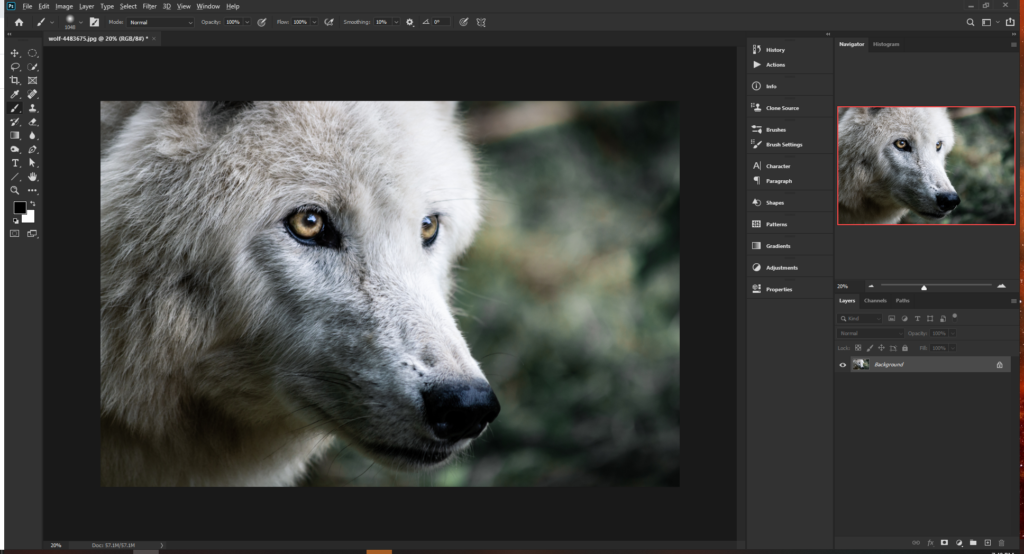
If you want to change the eye color in Photoshop then you are going to need a couple of things to get you started. The first is obviously a computer running Photoshop and the second is an image which contains an eye. I can’t help you out with the computer part but you can use this link to get royalty free images of eyes from Pixabay (If you have never seen Pixabay before then you are in for a treat. The site contains royalty free images which you can use to help master Photoshop. There is a link to the image used in this tutorial at the bottom of the page
Step 2 – Add a Hue / Saturation Layer to the entire image
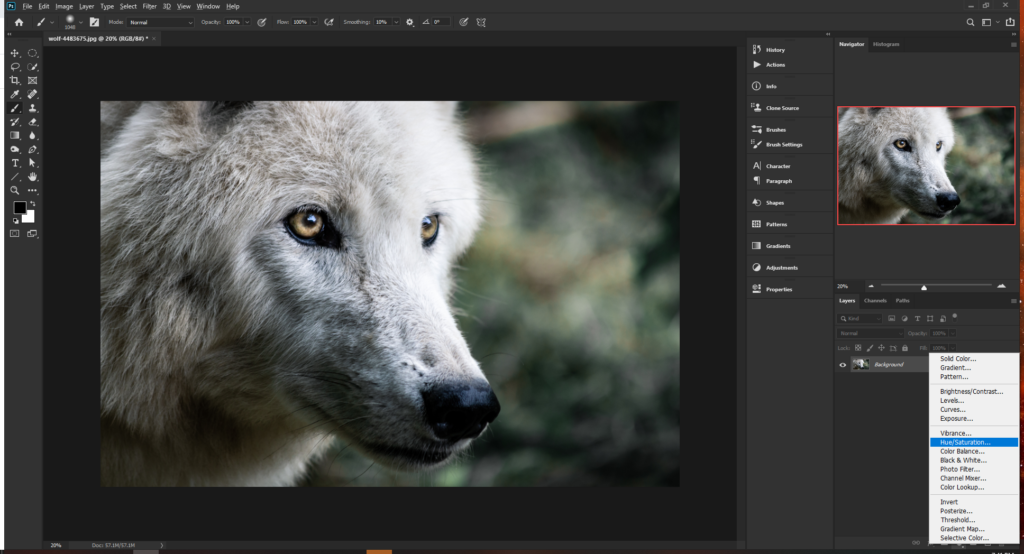
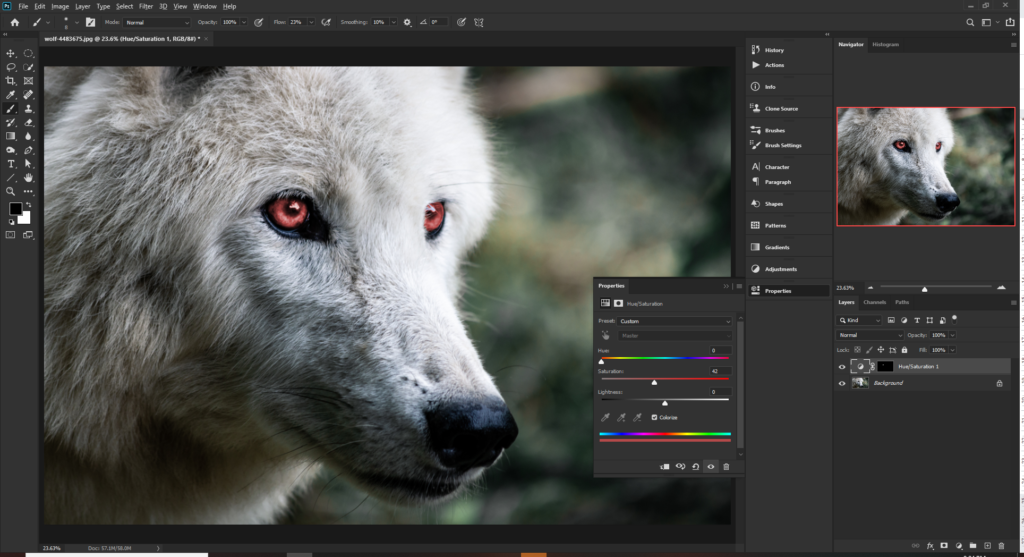
In this step we are going to add a Hue / Saturation layer to the whole image. That’s right, add the layer to the whole image. Remember to check the colorize button within the layer properties and then pick the color that you would like the eyes to be. Use the Hue, Saturation and Lightness values to select the color. If you are following along with this tutorial then I selected the following values (Hue=242, Saturation=35, Lightness=0). The image will look like the following but don’t worry, layer masks will come to the rescue
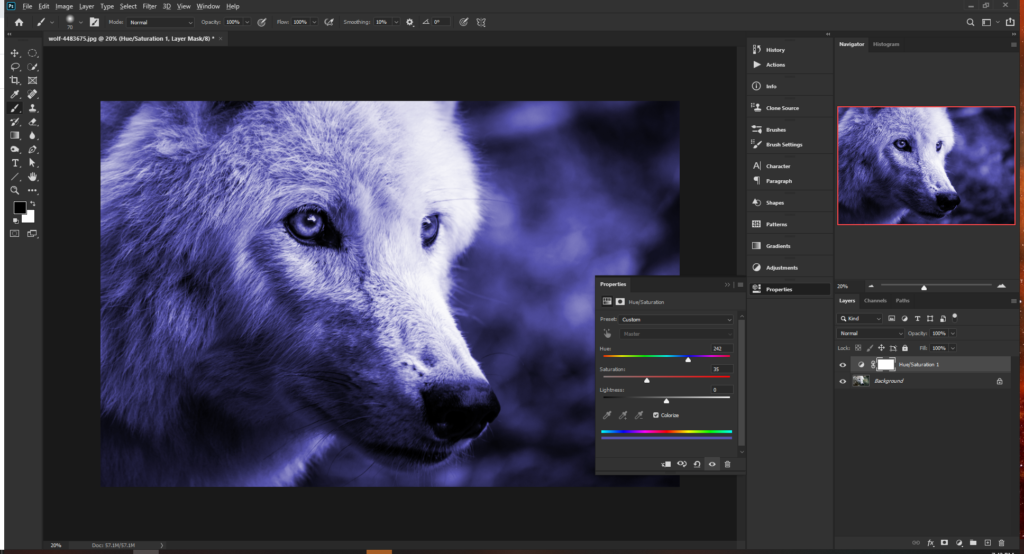
Step 3 – Use the Layer Mask to Make Only the Eyes Visible
Layer masks are incredibly powerful in Photoshop and the quicker you get familiar with what they do and comfortable in using them, the better your Photoshop experience will become. Quite simply, layer masks allow you to hide parts of a layer so that you can see what is on the layer below. It is a non destructive (does not alter the original image) technique that makes compositing (combining images ) and isolating (cutting things out of images) much easier.
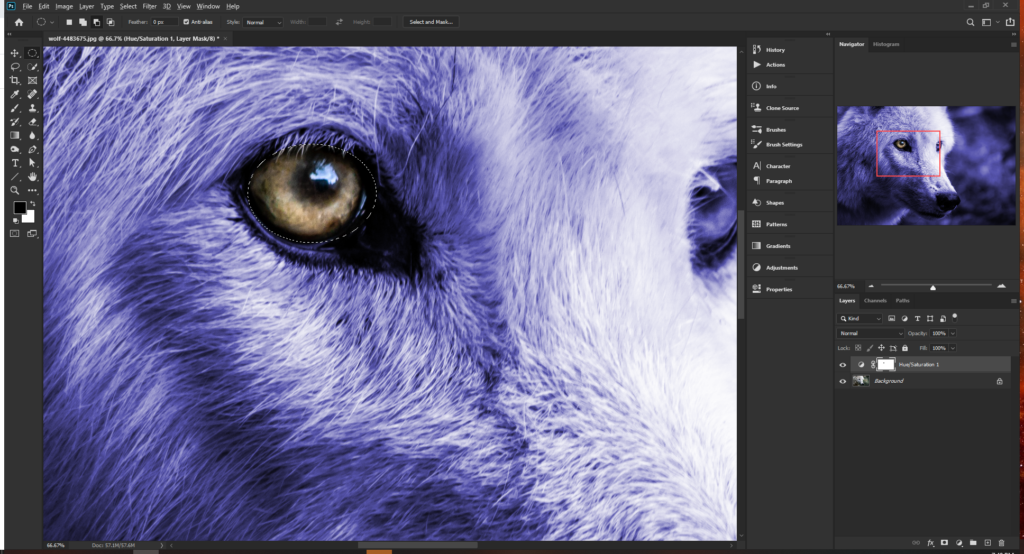
So in this example we can use the elliptical marquee tool. Use keyboard shortcut (M) to select the tool and create an oval around the first eye. I recommend doing one eye at a time. Sometimes there are quick ways of doing things in Photoshop and other times there is no substitution for spending time and taking care to achieve perfection
Note: You may need to hold down the tool to reveal the elliptical tool if all you can see is the rectangular marquee tool
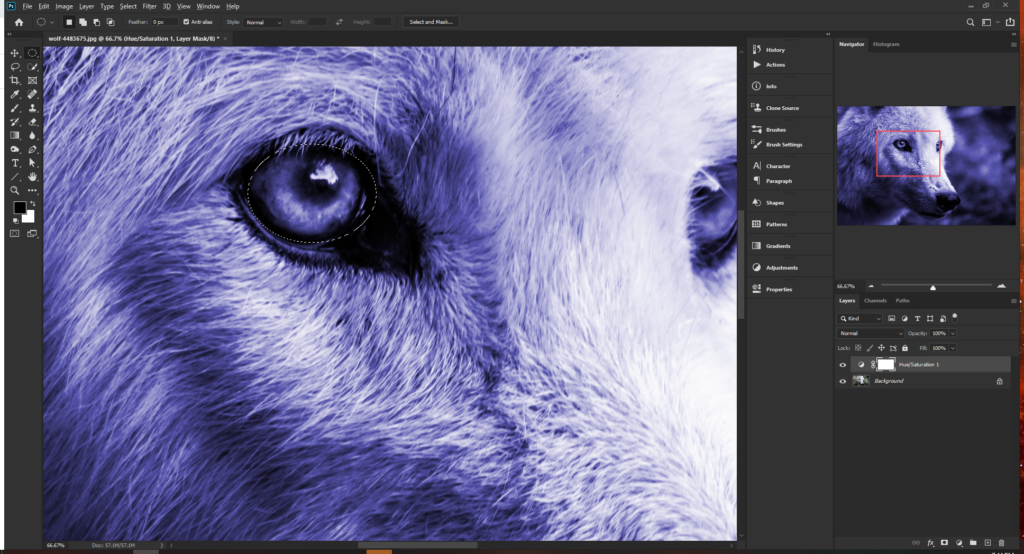
Now that you have the selection around the eye (You will see the dotted line or “marching ants”). Make sure that you have the adjustment layer mask selected and then Select Edit > Fill > Black (In the new window that pops up) > OK.
When using layer masks you can only apply black and white. Black will hide the contents of the current layer and white will allow it to be visible. Using shades of black and white will also work so that if you paint with black at 50% opacity then it will hide the layer 50%. So by filling our selection with black it will hide that part of the colored layer allowing the layer underneath to be visible
Step 3b – Inverting the layer mask selection
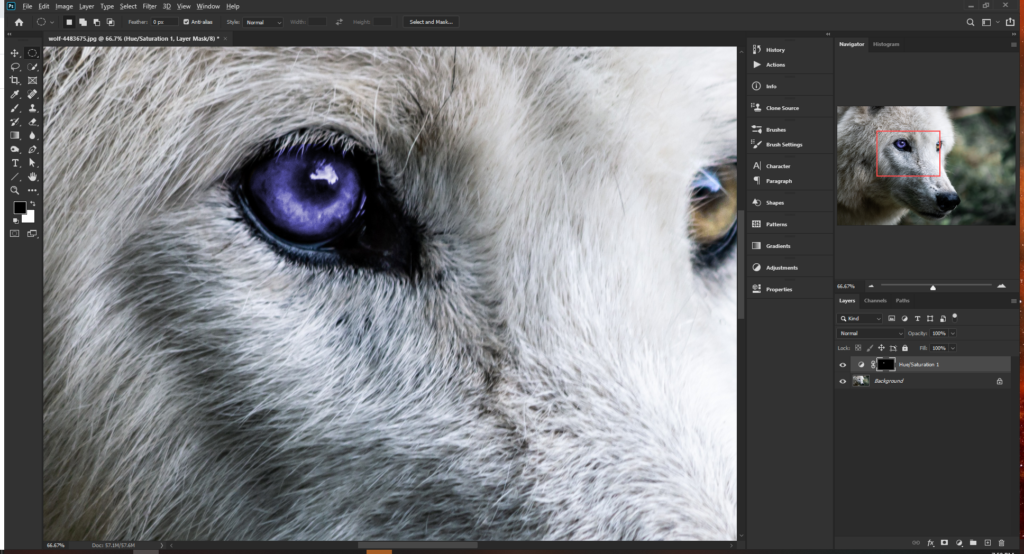
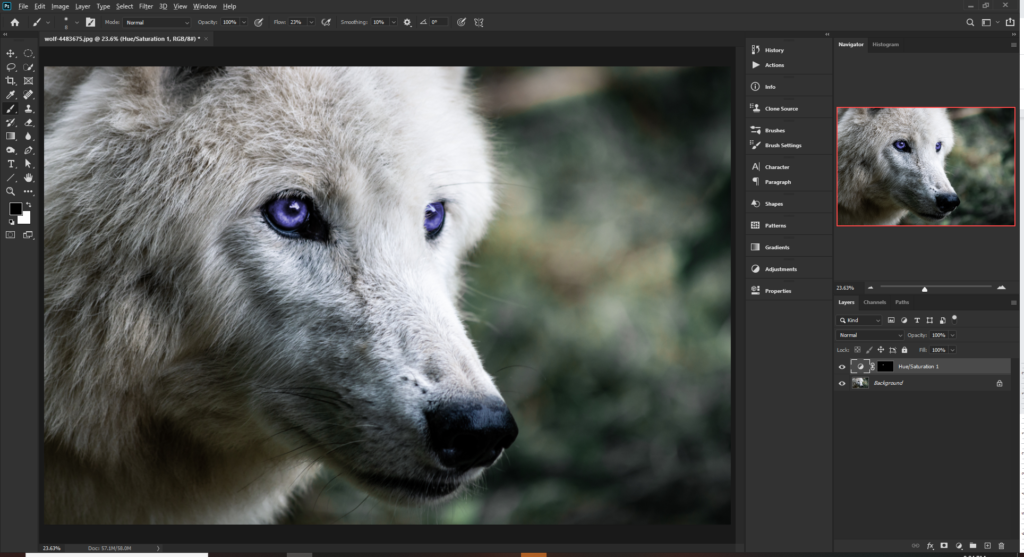
So you will have noticed that this is exactly the opposite effect to what we want so we need to invert it. select the layer mask in the layers panel and hit Ctrl+I to invert. You will now start to see that things are heading in the right direction
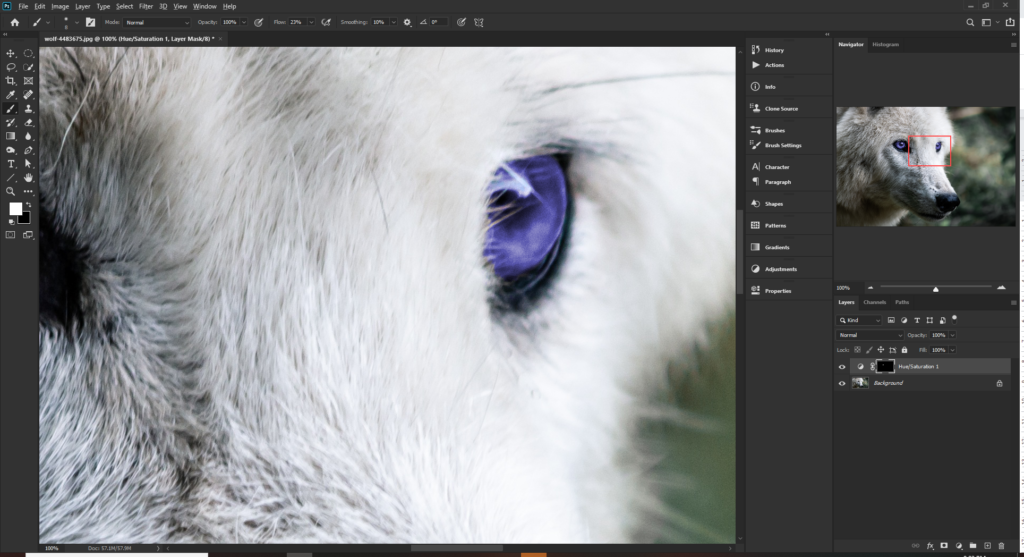
Step 4 – The devil is in the detail
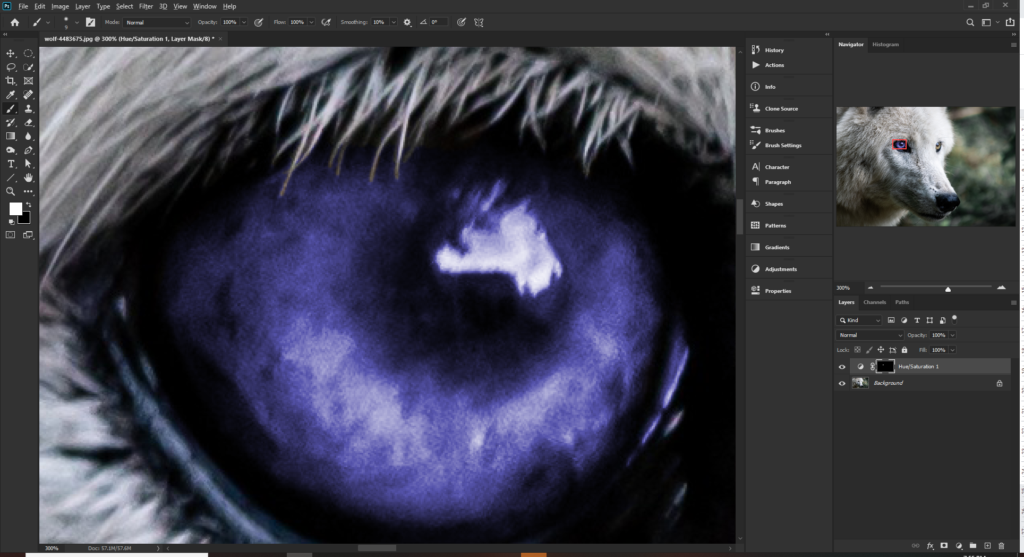
What separates a great image from a good image is the care taken to ensure that the finest details have been addressed. If you are looking at the image above and thinking that it is already pretty good then we need to zoom in and take a closer look

You can clearly see that there are areas of blue on the eyelashes which takes away the authenticity of the image so wee need to fix it and it is easy to do so. I have found that Photoshop is a lot like DIY or sculpting in the sense that if you have the right tools for the job then it is a lot simpler and enjoyable. If you do not have the right tools and you try to make what tools you have fit the job then it often ends up in a disaster.
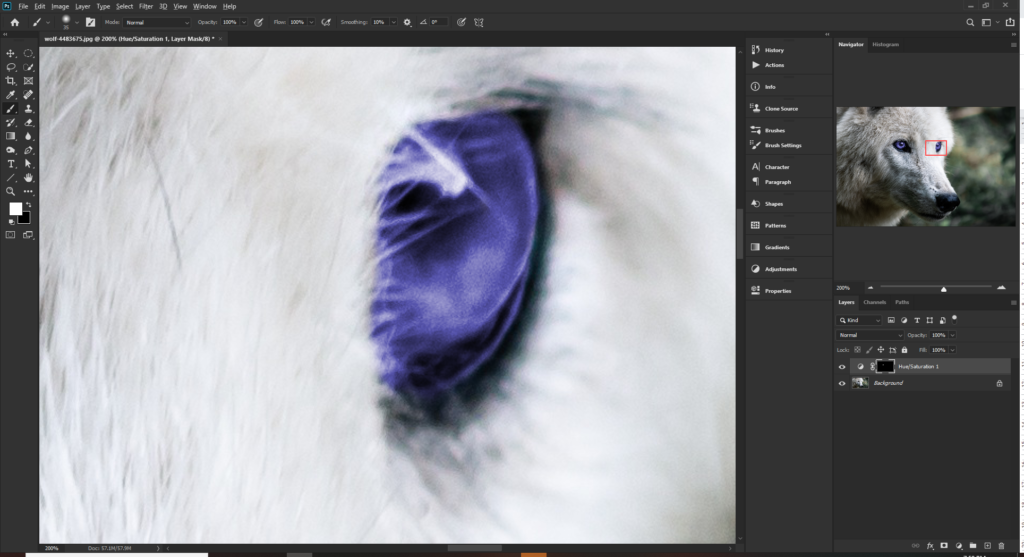
I remember once having to fit a new radiator upstairs in my bathroom. I did not have a pipe cutter so used a hacksaw instead and nearly brought the ceiling down because of a slow leak. Using a hard round brush to paint over eyelashes is like me using my hacksaw to cut a pipe. It will not work well so you have to use the right tools for the job in hand. Use a small soft brush with varying opacity and flow to paint over each of the hairs and eye lashes. Because we want to hide the blue we need to use black to hide it. Shoot for perfection on this and you can get the desired effect
Step 5 – The other eye…punch a hole in the mask
One eye down and one to go and guess what, you already have the skills and knowledge to finish the task – It is basically the same process…
Zoom in on the second eye and either using the elliptical marquee tool again or if you want to go “off-road” with just a brush. The only difference this time is we are filling or painting with white – remember that we are punching a hole in the layer mask to make the blue visible so it has to be white
Back in detail mode now, use the right tools to get the job done and refine the image so that it looks authentic. There are times when you will need to create customer brushes in order to achieve the right effect – back to the DIY / sulpting analogy, when you have the right tools for the job it is enjoyable.
Once you have added the final touches to the second eye you are done and you have now successfully changed the eye color in Photoshop.
Because we used a hue / saturation adjustment layer there are some major advantages of doing so:
- We are applying non destructive techniques to the original image – Get in to the mindset of protecting your reference images and use layers and masks to make your edits. This is a key thing to remember
- Using the adjustment layer maintains the shadow and highlight variations within the eye itself. Note that we only changed the color and there was no real need (in this example) to alter the brightness / darkness within the eye
- We can quickly change the color of the eyes because of the method we have used
One quick change to the hue / saturation layer and we have a totally new feel to the image (Don’t mess with this wolf)
I hope you found this tutorial useful and can apply these techniques to your images and projects. The image used in this tutorial can be found at the following link
Look out for my next tutorial where I will be changing the color of a car in Photoshop
I would love to hear any feedback and see the work you guys have produced so…Go Create Something!