Changing the color of a car in Photoshop is a simple process once you know how and a great technique which you can apply to pretty much anything. In my last post we looked at one of the most commonly performed photo manipulations, how to change eye colors in Photoshop. Carrying on with the color changing theme, we can see how easy it is to change the color of a car in Photoshop. Like most of my tutorials, there is an accompanying video so that you can see the process carried out in real time.
In summary we will be applying a hue / saturation layer to the car image and isolating a particular color range before matching it to a new color. I saw this tutorial on the PixImperfect YouTube channel and wanted to have a go myself. PixImperfect is run by Unmesh Dinda and he is a Photoshop master. I recommend checking out his channel for great Photoshop tips and tutorials.
Changing the Color of a Car in Photoshop – Detailed Steps
Step 1 – Select your reference image

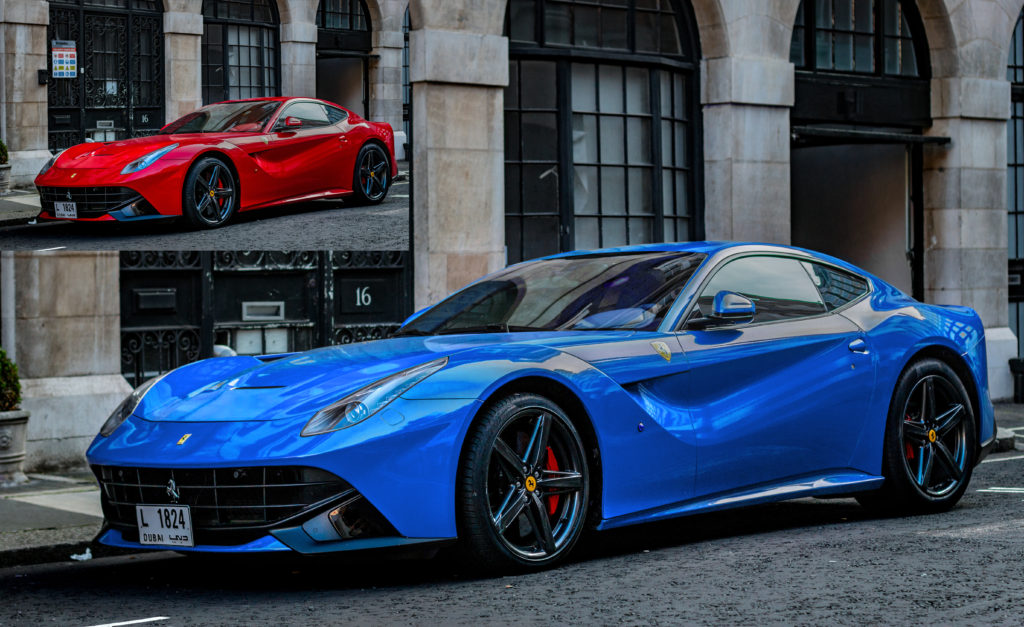
If you want to follow along with this tutorial then you can get the exact same image from the following link on Pixabay. The image is of a red Ferrari but I think they are too common…I want a blue one.
Step 2 – Sample the true color of the car
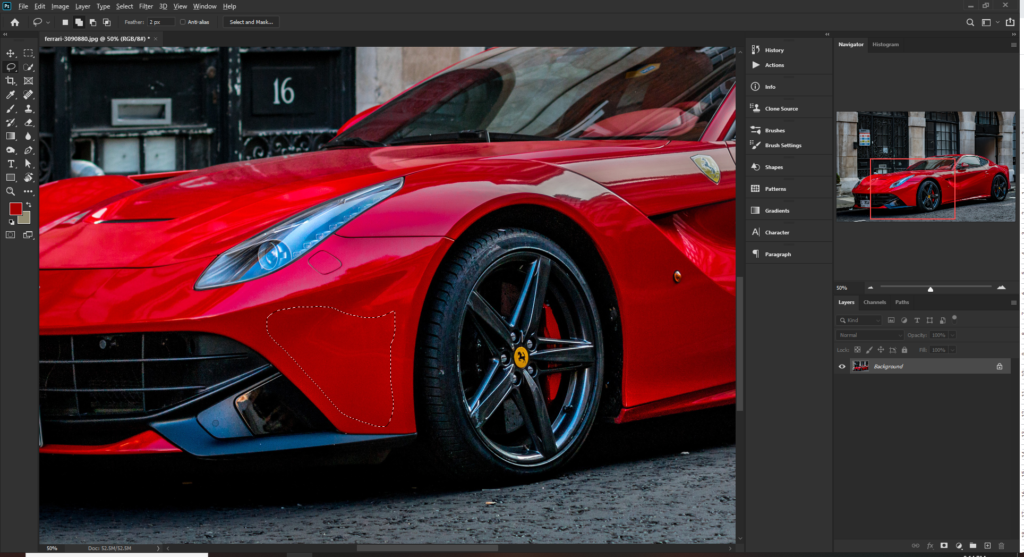
In order to change the color of the car, we must have a good reference of what the true color of the car is. This can be more difficult than it sounds in a photograph due to presence of highlights and shadows. One way we can do this it to take the lasso tool and make a selection around an area of the car which contains the least highlights and shadows
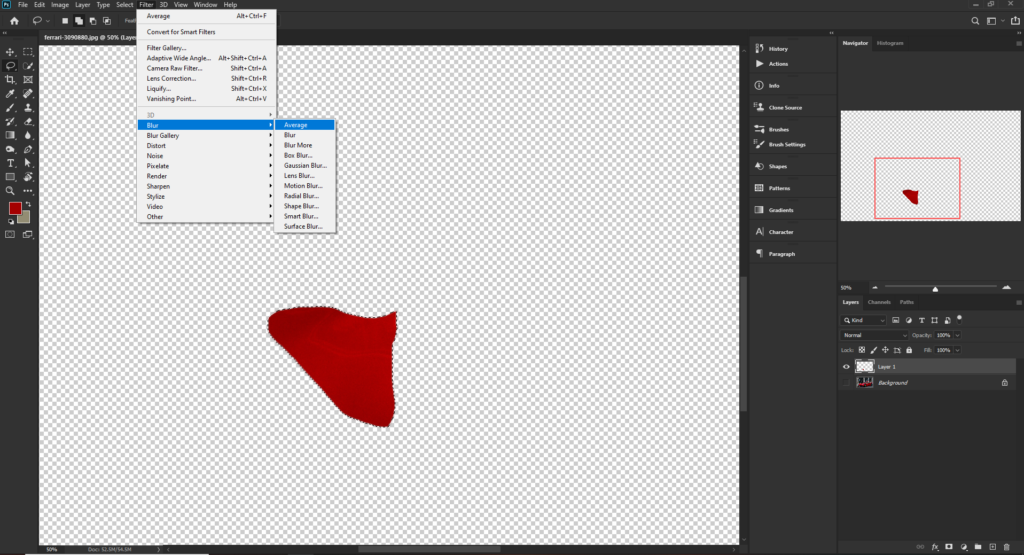
With the marching ants around our selection we can hit Ctrl+J to duplicate the selection on to a new layer. Making sure the new area is selected, Click Filter > Blur > Average. This will take an average of the selected area and give us our true color (or at least closer than I would ever get with my eyes)
Step 3 – Selecting the new color for your car
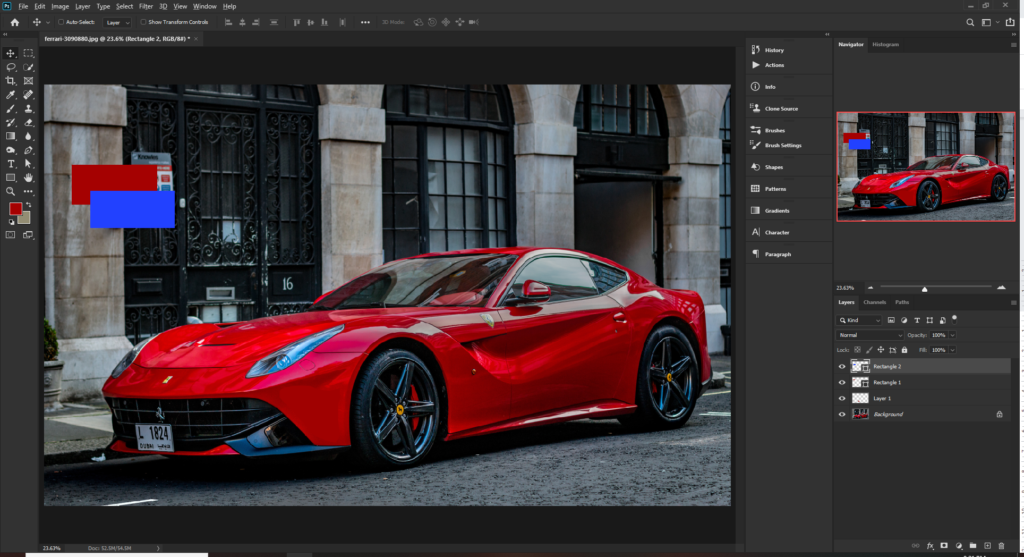
Now that we have the true color for the car we can start the process to change it. Borrowing the technique from PixImperfect, we need to create 2 rectangles. The first one will be the averaged color from the car and the second one will be the new color which you want the car to be. Using the rectangle tool (U) create the first rectangle and fill by sampling the averaged color. Then create the second rectangle and fill with your chosen color. If you are following along with this tutorial then you will want to use the color #2f25ff
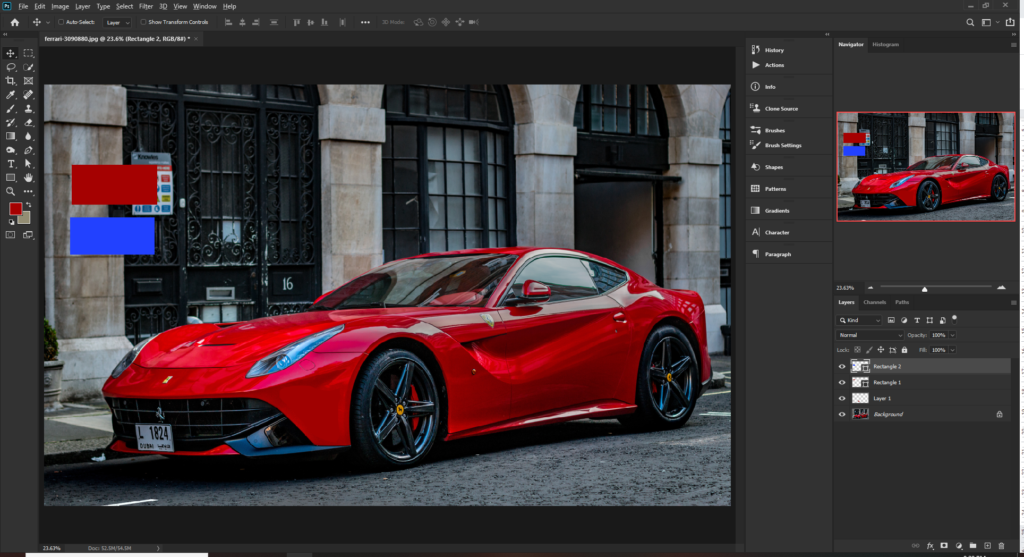
Now that you have the 2 rectangles, you will want to places them overlapping so that you can easily color match
Step 4 – Changing the color of the car
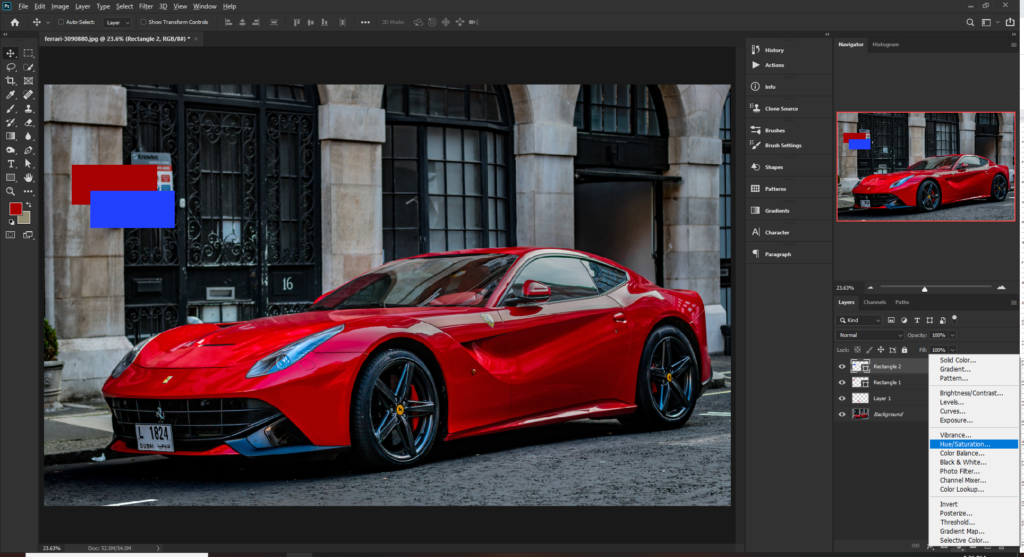
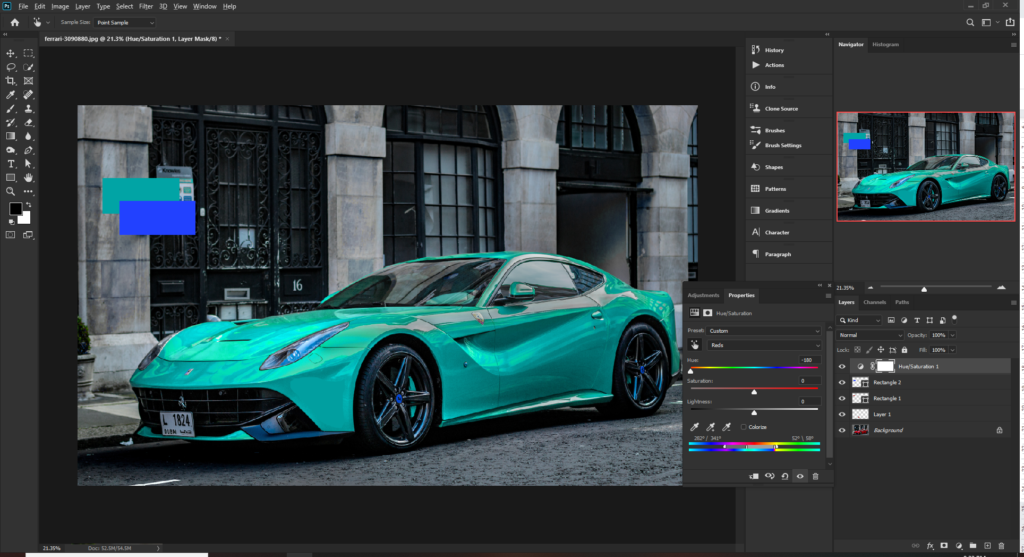
Now this is where the magic happens! – We are going to change the color of the car. Create a Hue / Saturation Layer (make sure it is at the top of your layers)
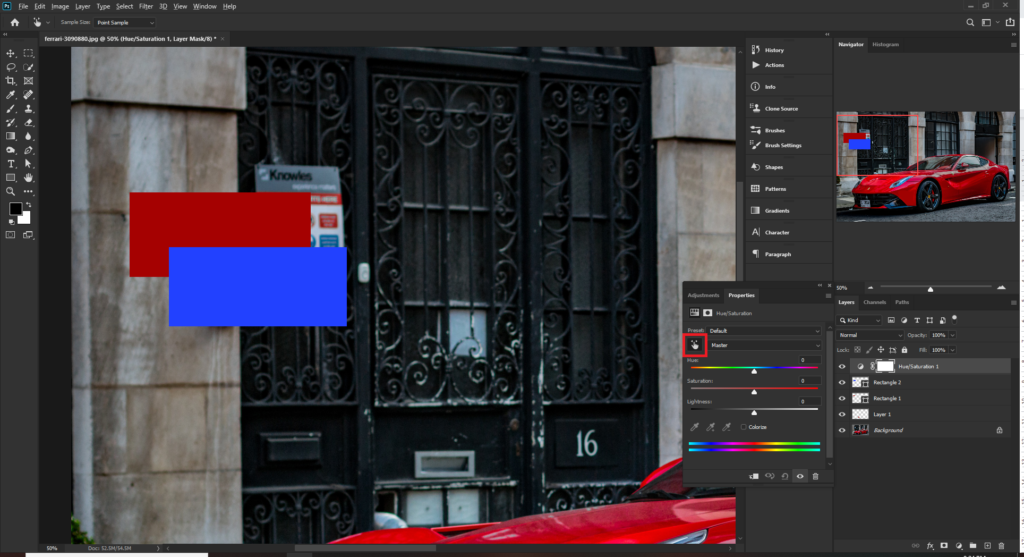
Select the color range picker button within the properties window and then sample the red rectangle. This will identify the color range of the car and allow you to modify only this range within the adjustment layer
Nest move the Hue slider all the way to the left hand side. You will notice that the car and rectangle have both changed color. This a good thing. You will also notice that there is now a slider at the bottom of the hue / saturation properties window. We will use this to refine the selection more.
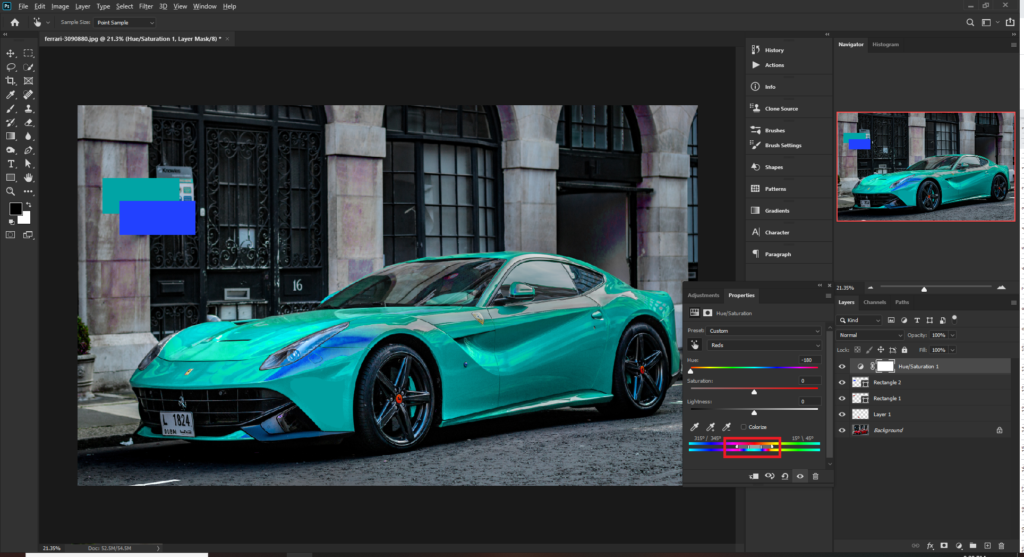
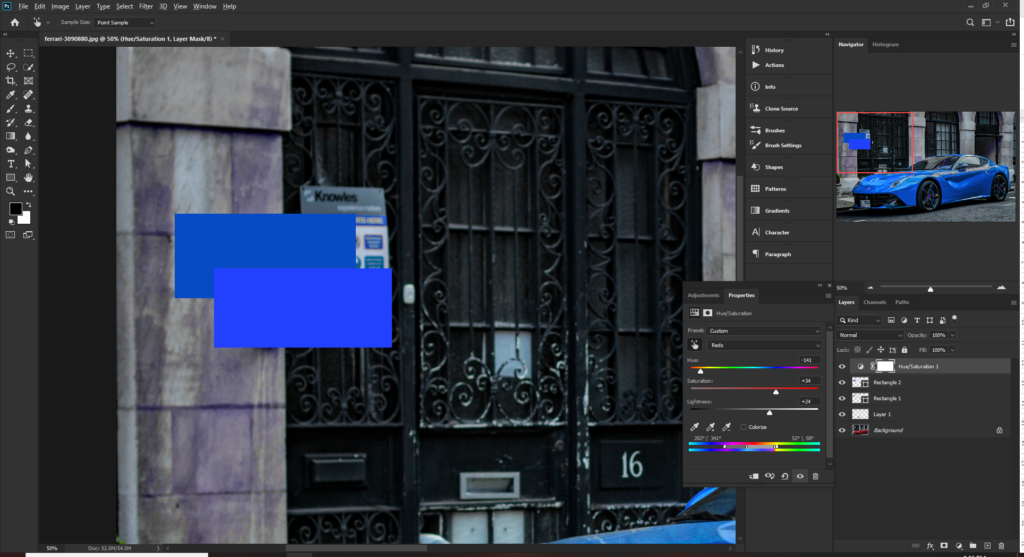
You will notice that there are areas of the car which are not the same color as the rest of the bodywork. The aim here is to make sure that the whole car is the same base color. Adjusting the sliders at the bottom of the hue / saturation properties window will allow us to do that.
Now that the car is all the same color we can adjust the Hue, Saturation and Lightness to match our desired color. Zoom in to the rectangles (pay no attention to the car) and adjust the levels until they are as close as you can get.
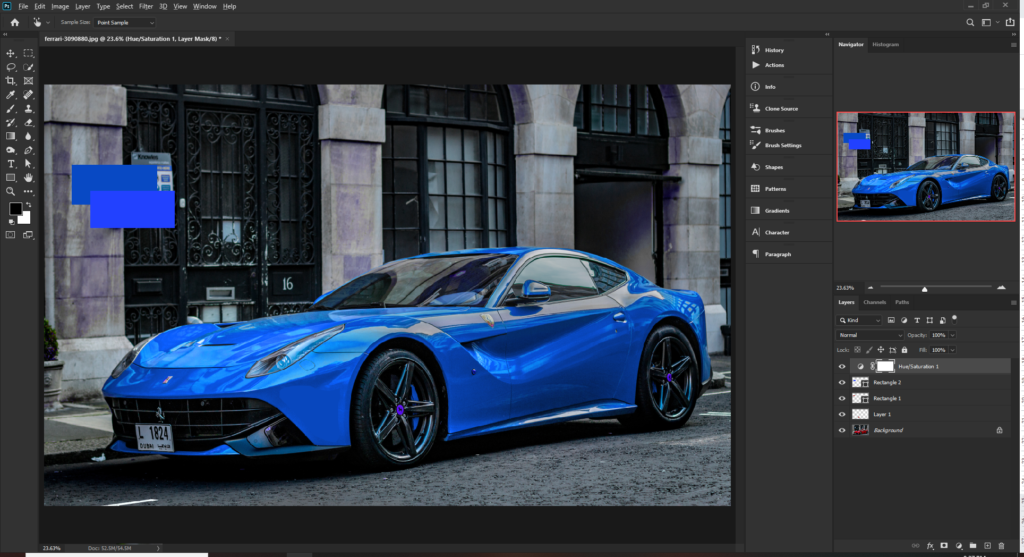
In my example above it is not perfect but close enough so that when you zoom out you can see the car has now turned to our chosen color.
Step 5 – Refining the image and adding finishing touches
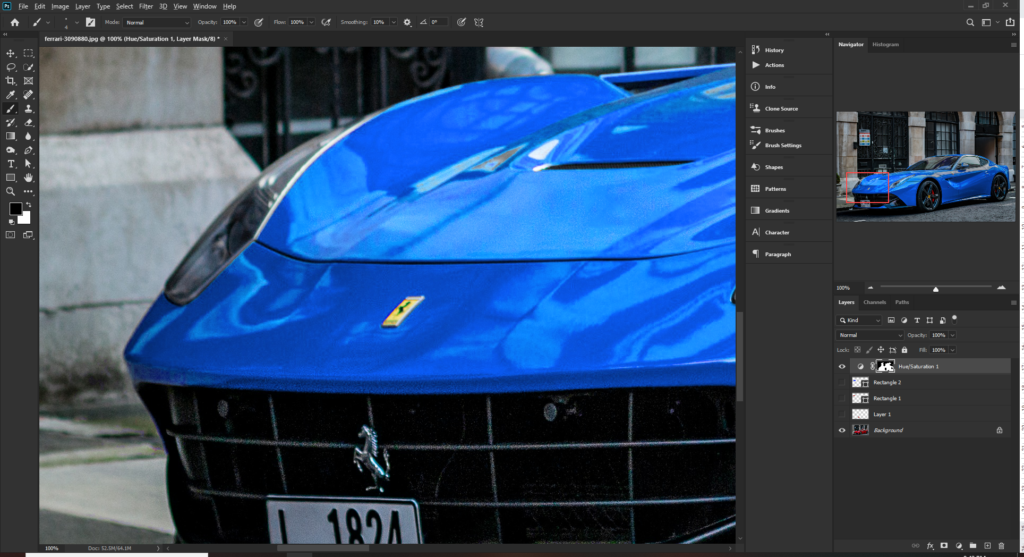
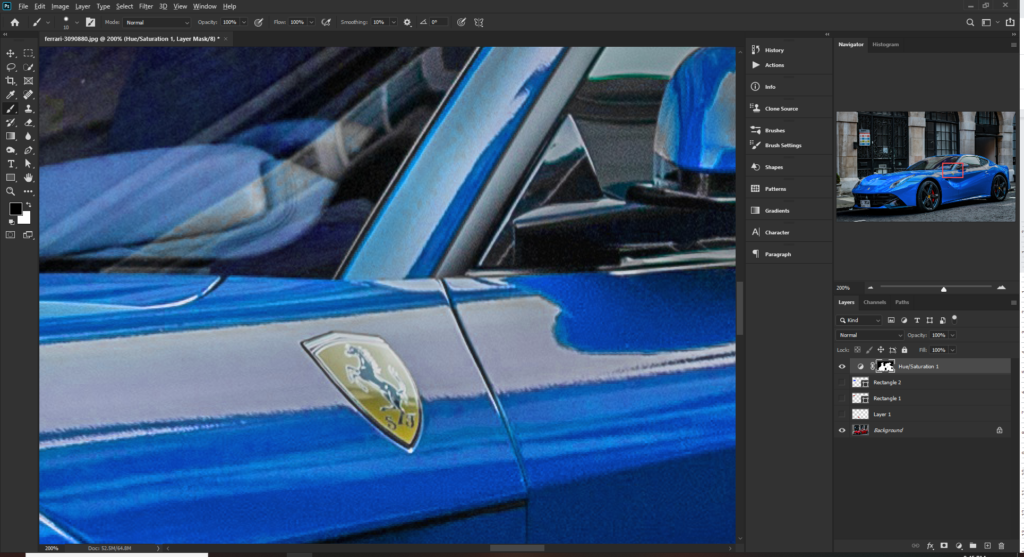
When you zoomed out you will notice that the background has also been altered a little too much. There are also areas of the car which have been altered. Because we used an adjustment layer it comes with it’s very own layer mask. We can use the mask to hide parts of the saturation layer making the original background visible. Pay close attention to the tires, badges, road surface, buildings and glasswork. Using a black brush on the layer mask, zoom in close and take care
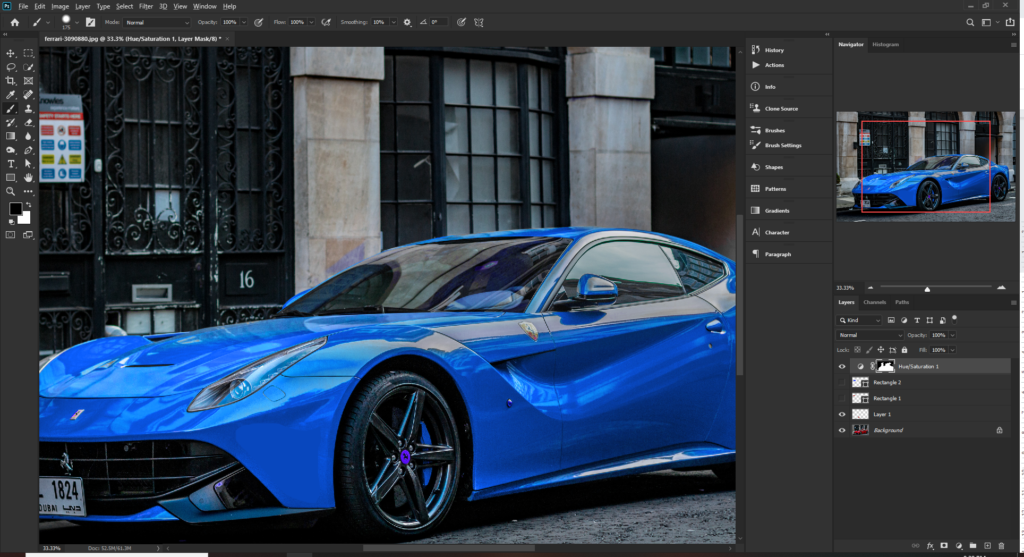

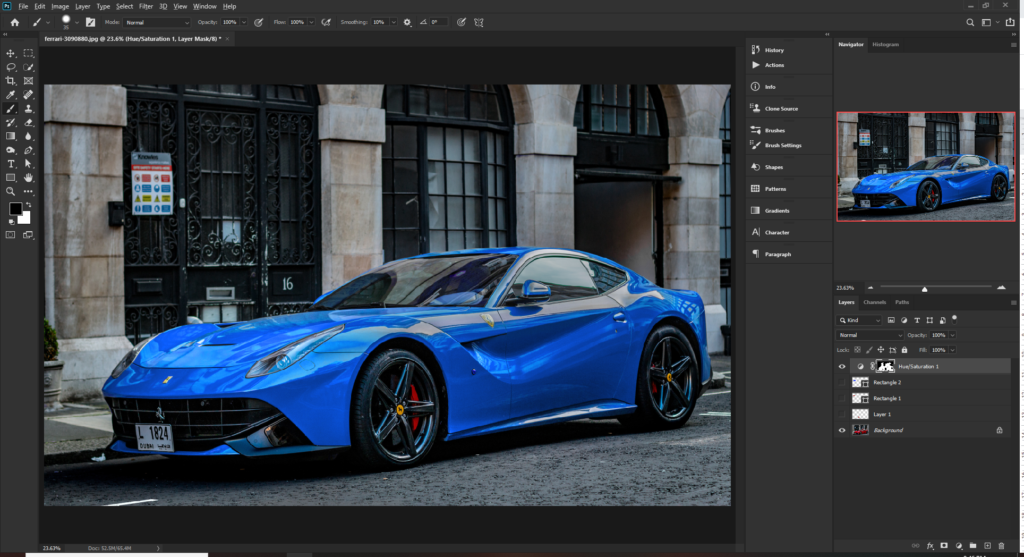
Once you have painted away the alterations you will be left with a very realistic looking image and it is very hard to tell that the color has been altered. You can add a few more touches such as highlights and shadows but I do not think it was necessary in this instance.
I hope you were able to follow along and if you get stuck then take a look at the video – it really helps to see it done as you follow the guidelines. Happy Photoshopping and as always…Go Create Something!