In this tutorial we will be creating a cracked skin effect in Photoshop. This effect looks very cool and I used to wonder how on earth it was created, assuming that it had taken so much time to crack the skin. Like all magic tricks, once you know the secret, it doesn’t seem that special. The trick to this effect is to understand that you are not really cracking the skin. Instead we are taking a texture from another photograph, warping the shape to wrap around the face and then using layers and blend modes to color match. Maybe you knew that all along. That being said we can now get started and there is an accompanying video to see how the effect is applied.
Step 1 – Open the images you will be working with
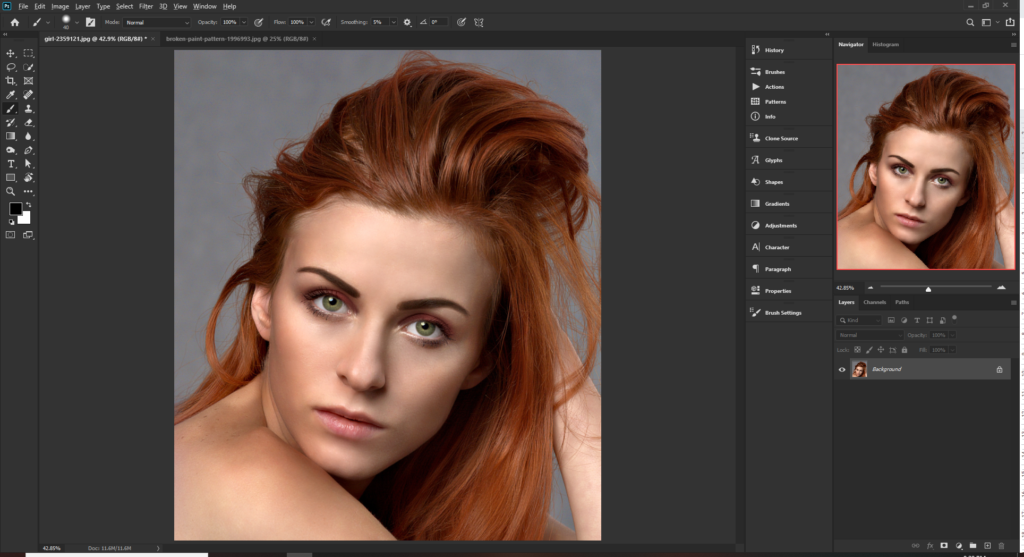

The 2 images used in this tutorial can be found at the following locations
Woman Portrait- https://pixabay.com/photos/girl-beauty-woman-model-hair-2359121/
Texture – https://pixabay.com/photos/broken-paint-pattern-white-crackles-1996993/
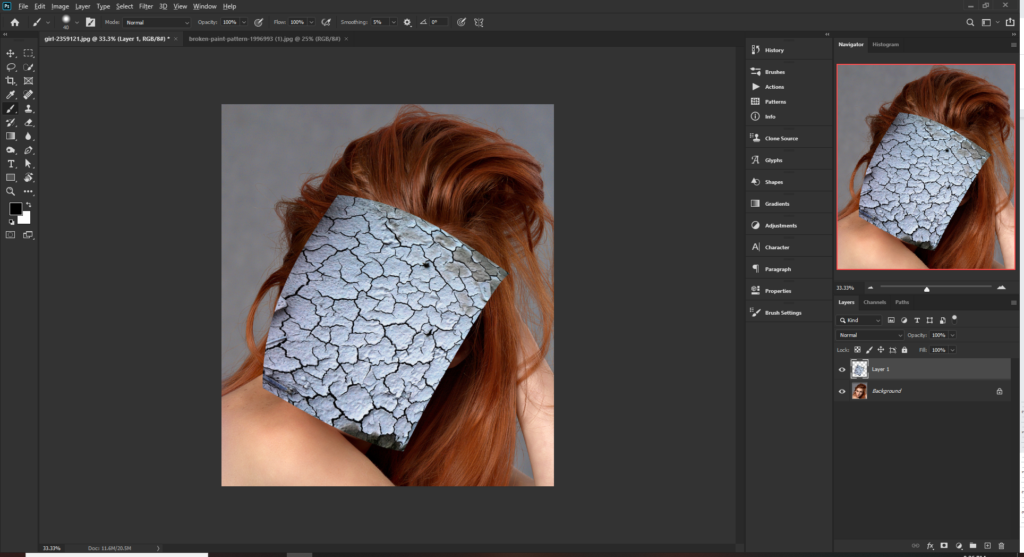
Copy the texture to the same file as your portrait and transform the texture so that it fits over the face of your subject
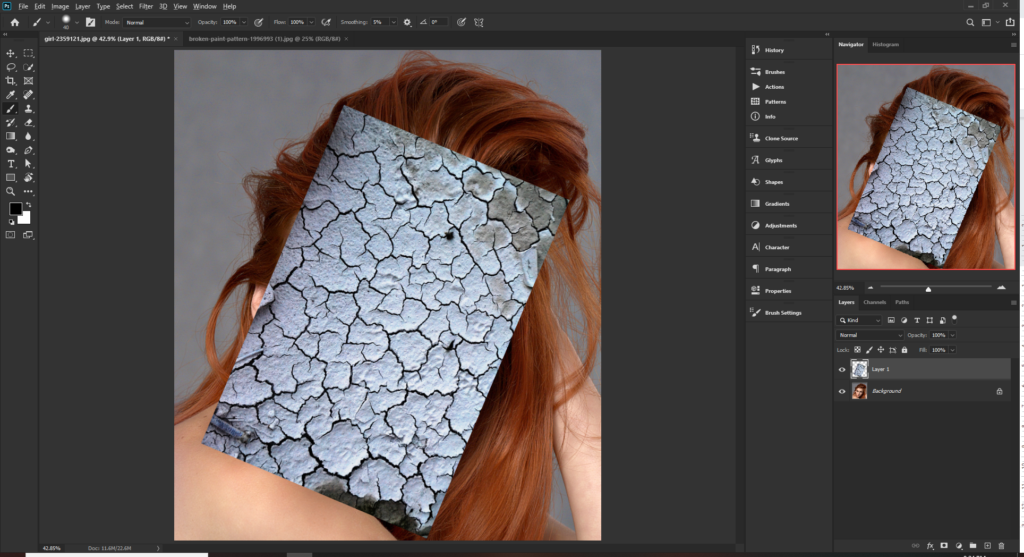
While in the transform view, right click and select warp. We are trying to warp the image so that it begins to match the shape of the face.
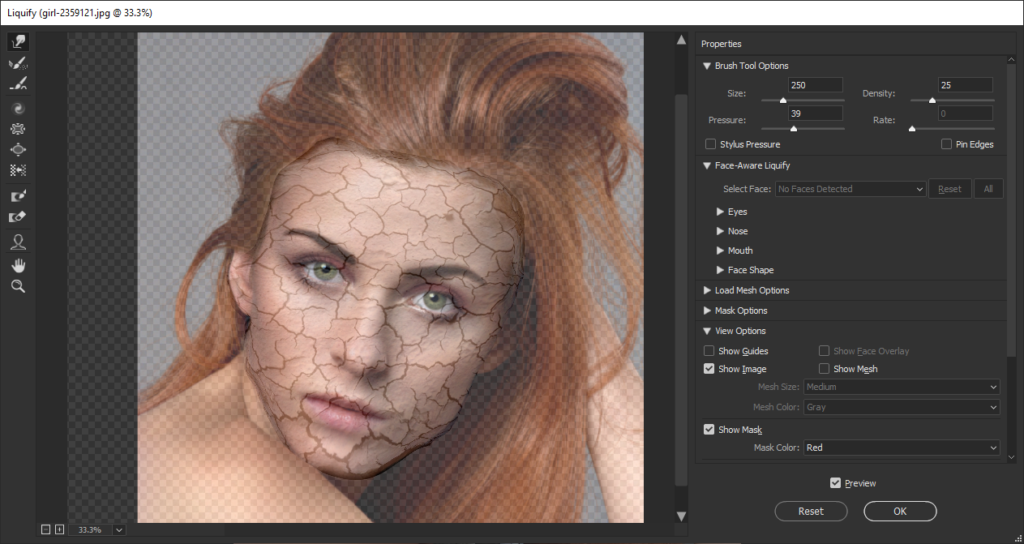
Now with the texture layer selected choose Filter > Liquify.
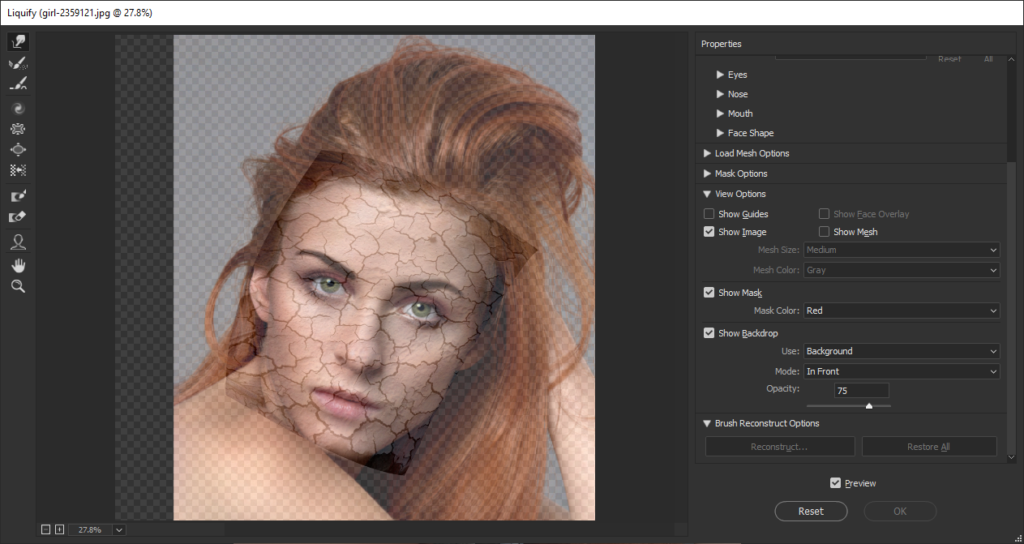
In the liquify menu, scroll down to the Show backdrop menu. For the “Use:” drop down menu select your background image and set the transparency to a bout 70%. This will allow you to see the background image when using the forward warp tool.
Using the forward warp tool we want to shape the texture around the shape of the face. Doing this makes the texture really wrap around the subject’s face making it look very realistic.
I am setting the density of the brush to 25. You can set it higher if you like…Go nuts and Experiment 🙂
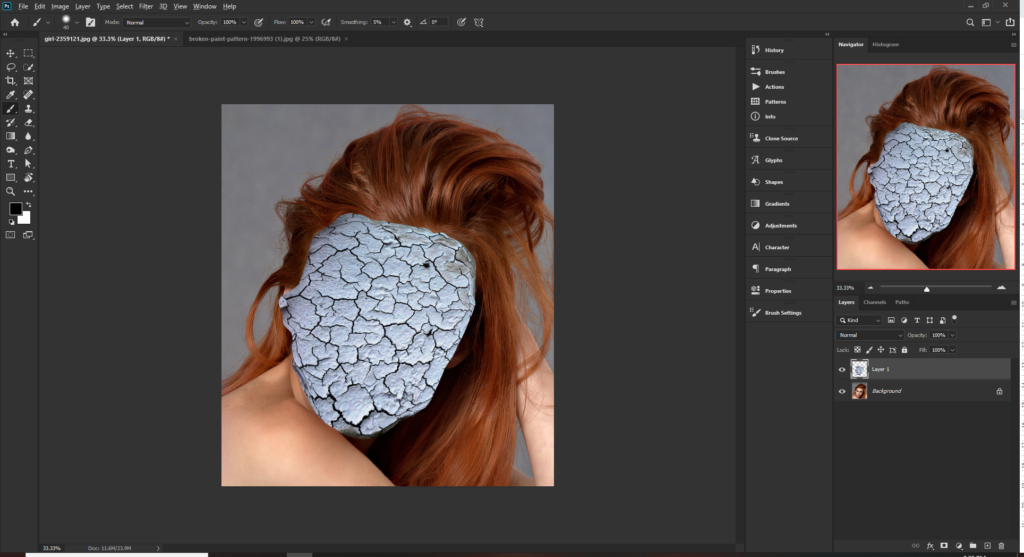
Hold Ctrl+Shift+ to desaturate the image (make it black and white) – the image may already look black and white but there are hues of blue etc. included that will make it more difficult to color match. Best option is to take all color out.
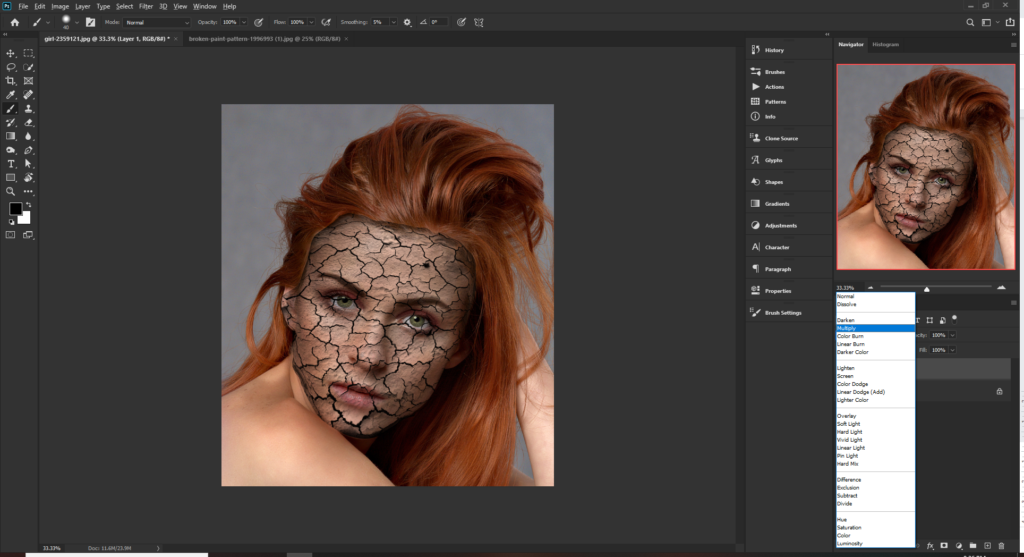
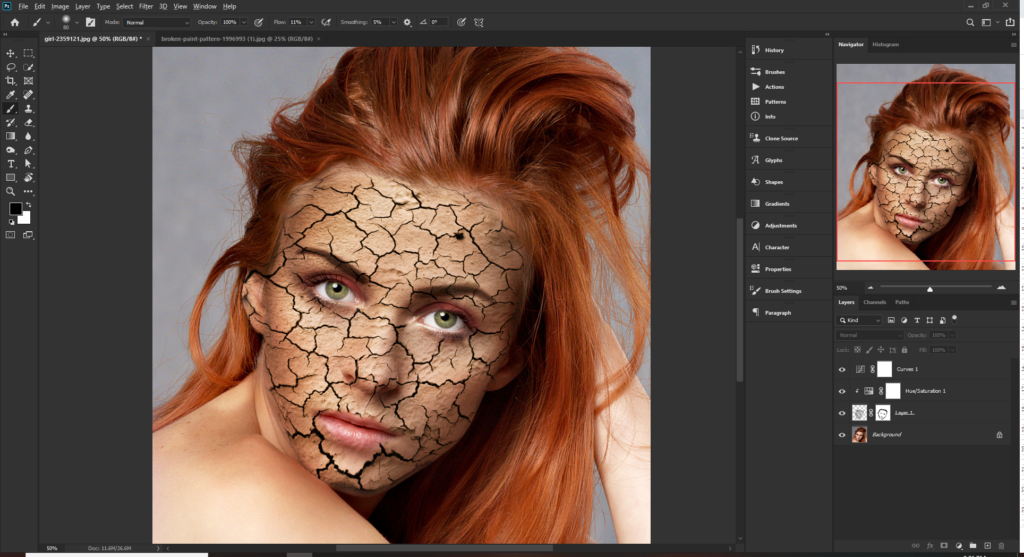
Set the blending layer to multiply. Multiply looks at the color information in each channel and multiplies the base color by the blend color. The result color is always a darker color.
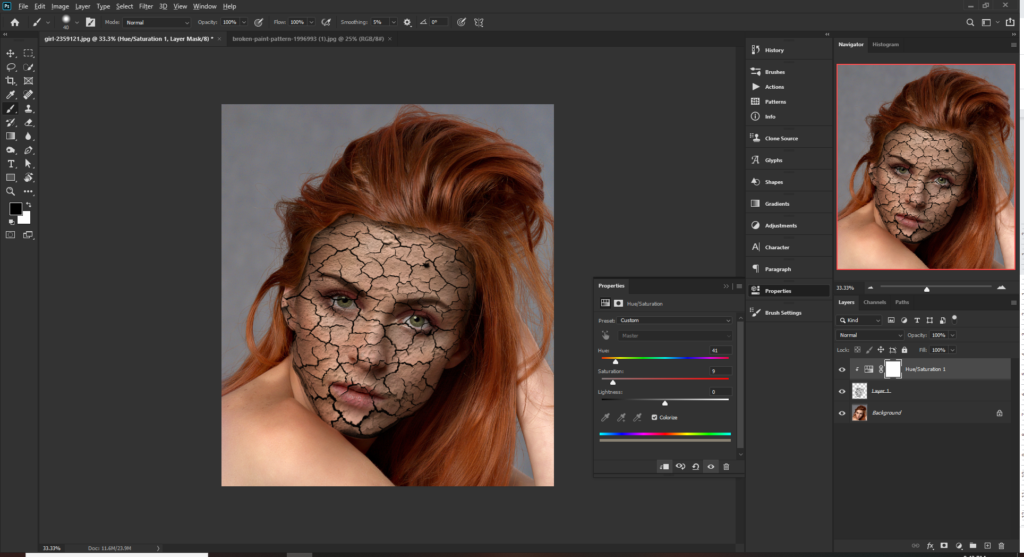
Now we want to color match the 2 images so create a new Hue / Saturation layer
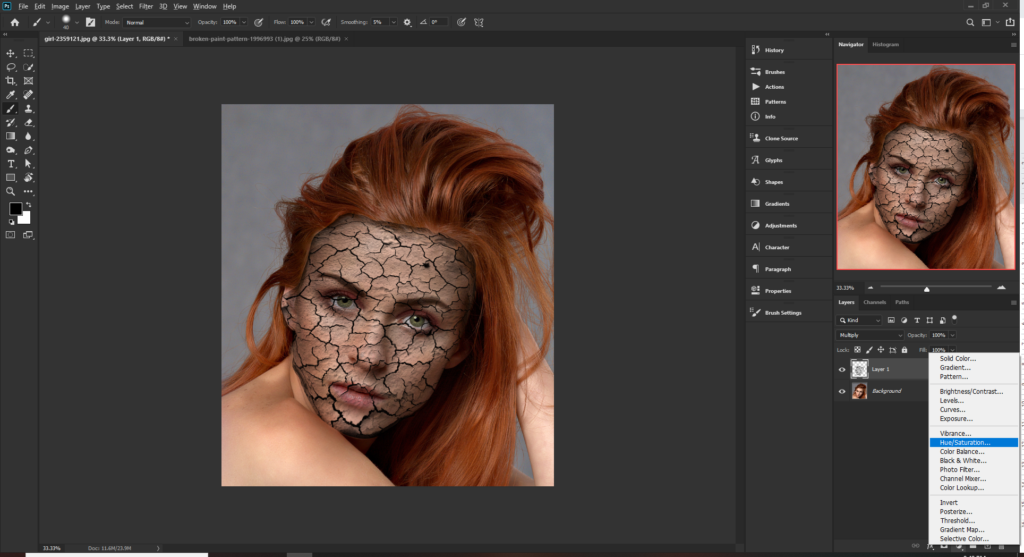
In this image, I have used the following values…H: 41, S: 9, L: 0
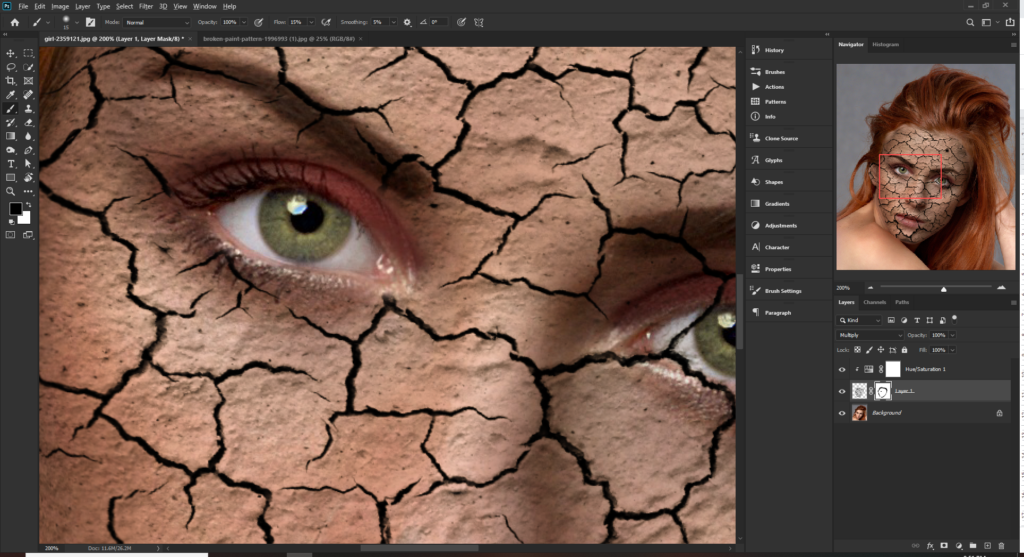
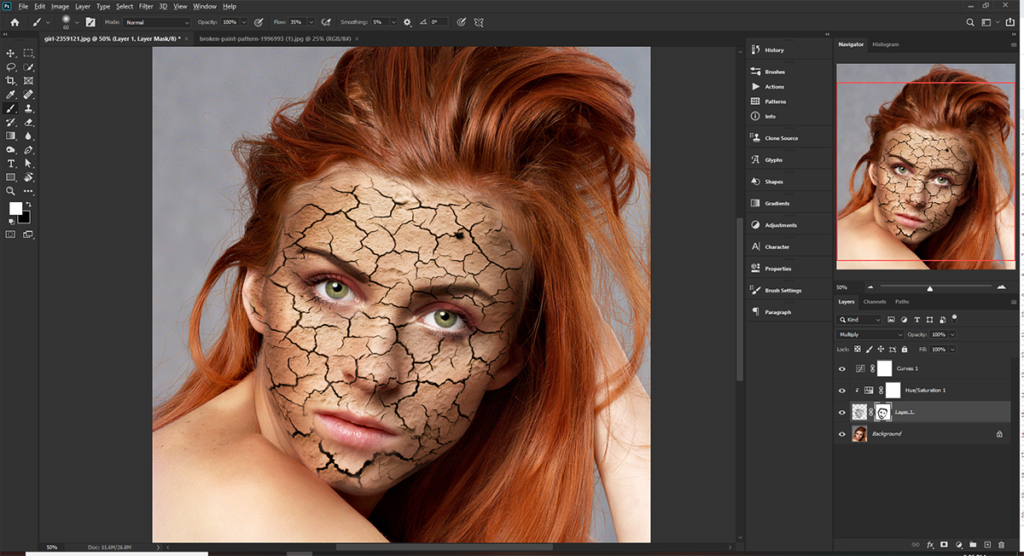
Now we can apply a layer mask to our texture layer and start to hide parts of the layer. Remember that if you paint black on a layer mask it will hide that part of the layer and if you paint white, it will reveal the contents of the layer. Very powerful!
With a soft brush and a reduced flow (about 30%) – start to paint around the edges of the face to tidy up the effect
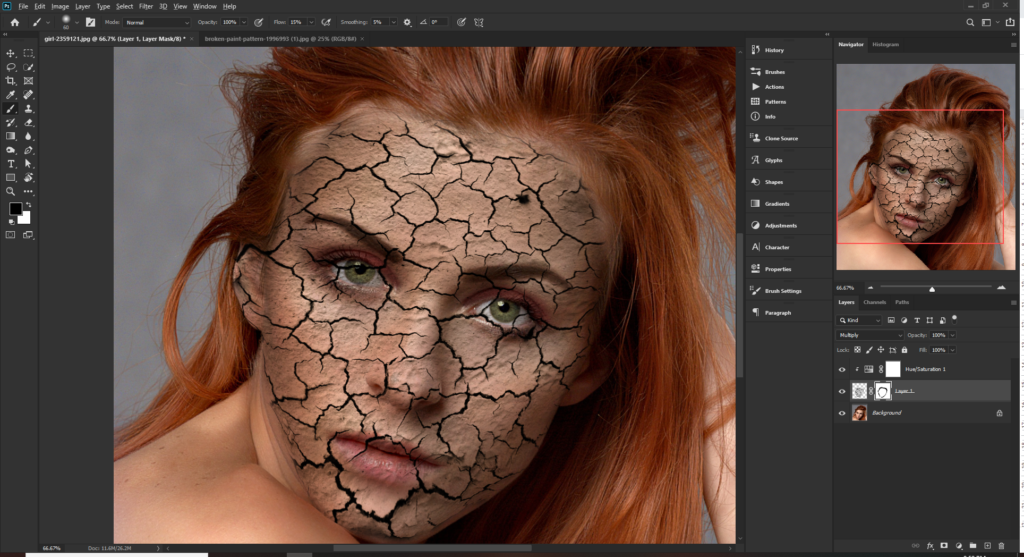
Also paint black over the eyes and lips (you might want to leave the lips) to make it look more realistic
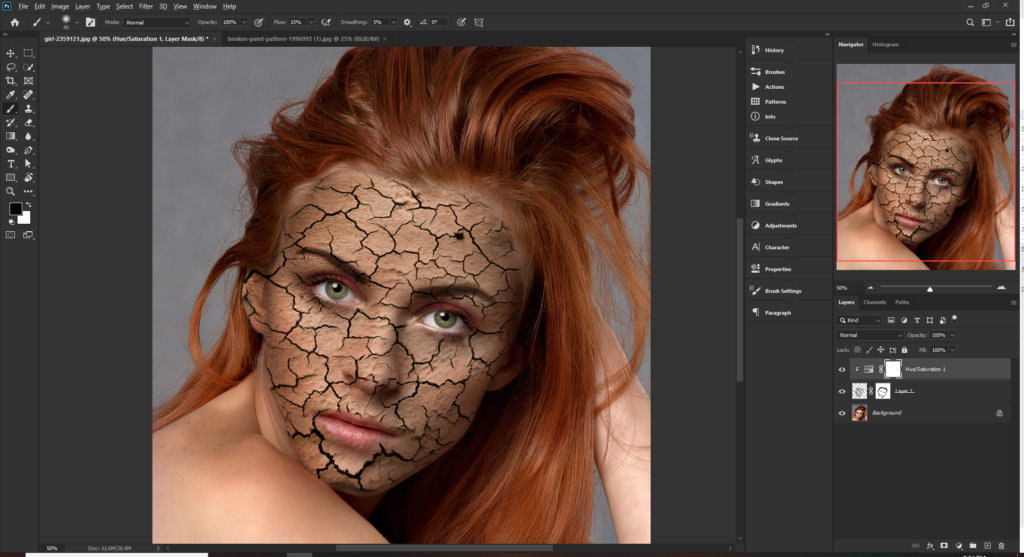
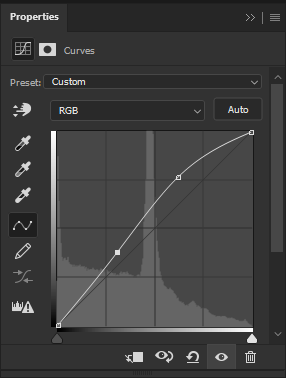
The image is starting to look OK now but adding a new curves adjustment layer will make a big difference by brightening up the highlights and darkening the shadows in the image’s tonal ranges (that sounds very technical and it kind of is but if you play around with the curves adjustment layer, you will get the idea of what it does)
Because we are working with layer masks, it is very easy to adjust and make minor modifications to make the image look more realistic
I hope you found this tutorial useful and can take the techniques to your own images. This technique has pretty much limitless applications and the only limiter is your own imagination so Go Create Something!