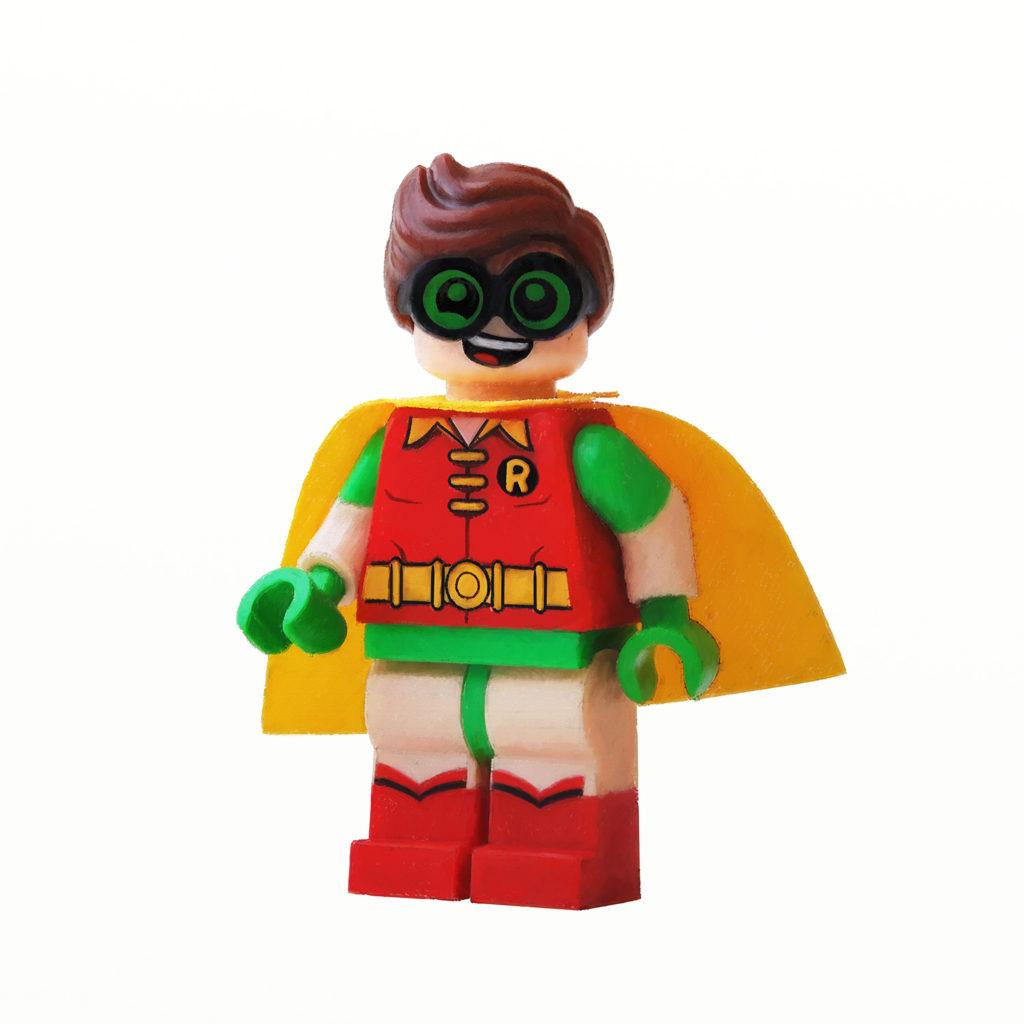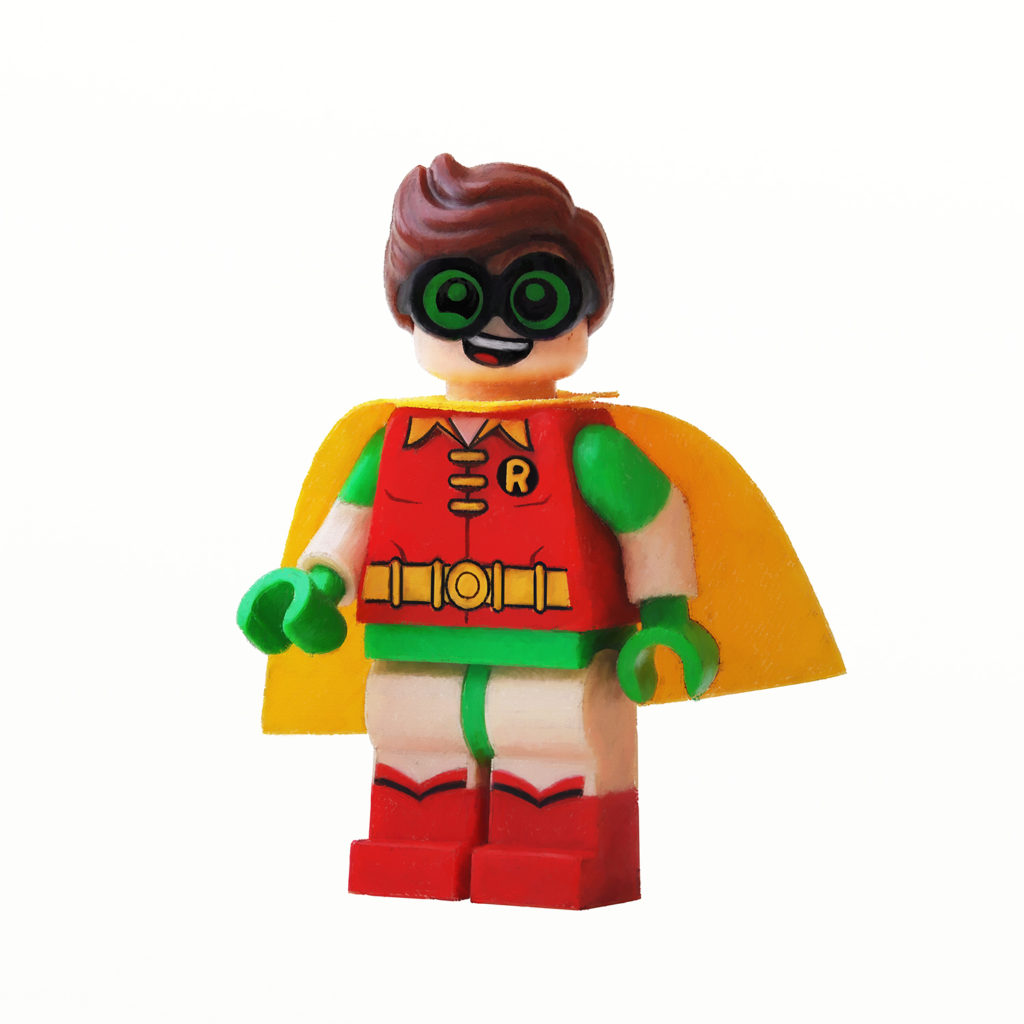
Once I had finished the Lego Joker it was either Batman or Robin so my youngest son decided that Robin was the way to go. Using the exact same method as my other Lego paintings, I photographed the mini figure and got to work.
I created the painting using the following equipment:
- Artrage – Digital painting program for Windows, Mac and tablet. I used the Windows desktop version of the software for this piece
- Wacom Intuos 4 Graphics Tablet – A graphics tablet is a “must have” item for desktop based digital art and Wacom has always been my weapon of choice
- Nikon D90 Digital Camera – I used my digital camera to get the perfect reference image.
- Manfrotto Compact Action Tripod – Again, required to get the perfect reference image.
Adobe Photoshop – Creating the reference image followed by some minor adjustments to lighting and sizing with Photoshop.
Progress Photos

Of all the Lego paintings I have created, Robin’s hair still stands out as the most difficult thing I had to paint. I am not quite sure what caused me so much trouble here but I found the curves in the hairline extremely difficult.

The full outline having got past the tricky hair

Once the outline is solid then I personally find that the coloring is the easy part.

This was the last Lego painting I created from the Lego Batman Movie – This was largely due to an incident with my son losing all the characters on a trip to a zoo. I did not want to buy the figures again but I did enjoy creating the Joker and Robin – My digital drawing skills got a great workout on these two pieces